
So my parents and I had to go on an unexpected and sadly bittersweet trip to the Philippines last January. Having to plan a trip to the Philippines in just two weeks and during the Christmas holiday was certainly a new experience for me when usually we’d have months to prepare everything, from packing to logistics and all that. And that’s all to help keep things as smooth as possible because traveling to the Philippines (at least, the actual traveling part) isn’t always the smoothest experience.
Interestingly enough, this ended up our smoothest trip to the Philippines ever! And I decided I should share some tips that might help both first time and return travelers to the Philippines.
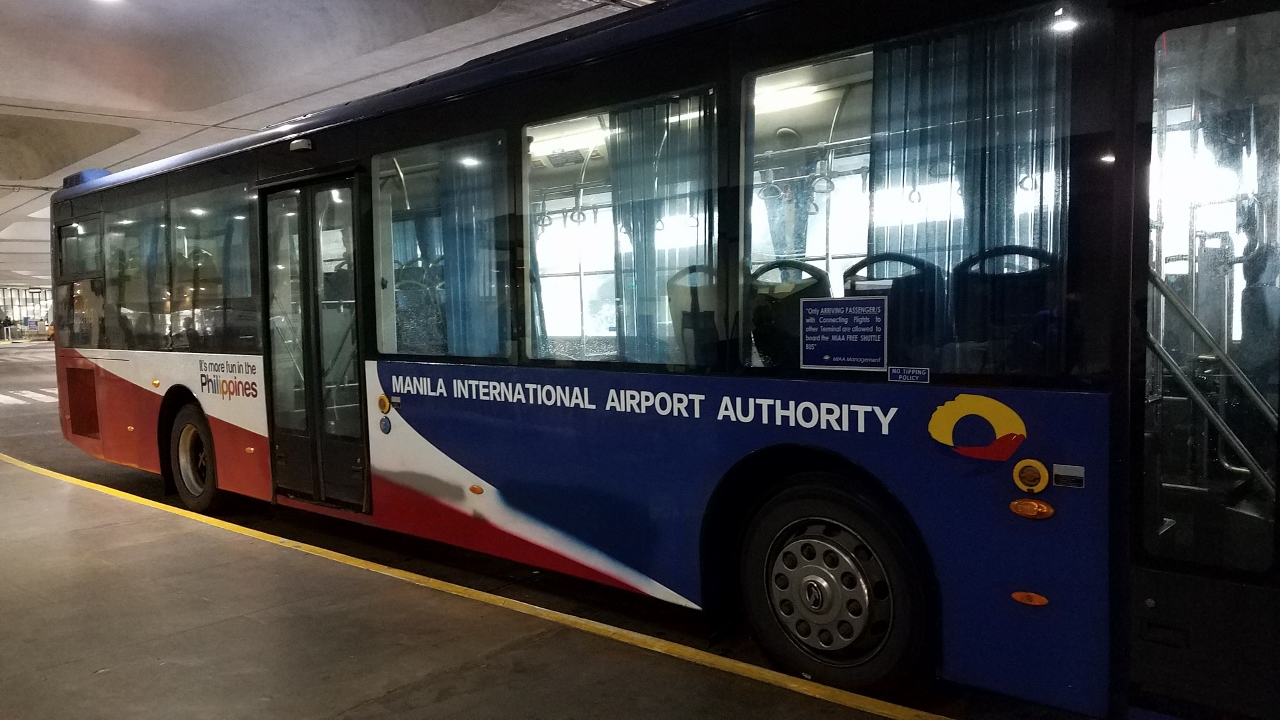
Shuttle at Manila International Airport – Between Terminals
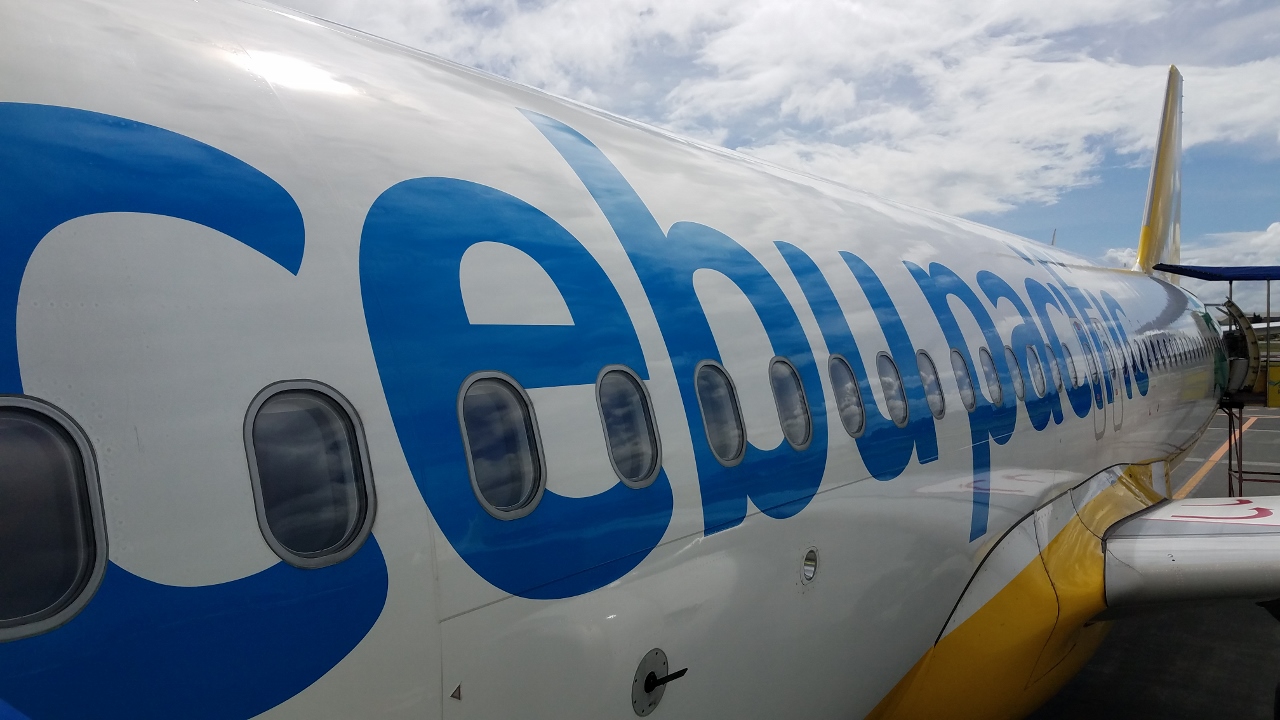
So it’s 6am on January 1, 2019 and our Philippine Airlines flight from San Francisco arrives at Terminal 1 (which has been “refreshed” very nicely, making it look almost new, tbh). And for us to continue on to Cagayan province, we need to hop on a Cebu Pacific flight to Tuguegarao which departs from Terminal 3. Usually, our Uncle is able to pick us (and all our luggage) up and drive us over to the other terminal (with a quick breakfast pit stop of course).
The four terminals at Manila International Airport are all quite a distance from each other and especially with traffic, could be long ride. So plan accordingly for that.
Anyway, our uncle couldn’t pick us up this time (he was already in Cagayan!), so we have to figure out another way to transfer terminals. We didn’t really want to take a taxi with all our three suitcases, two large boxes and all our carry on bags. But it turns out there’s a brand new NAIA Shuttle that turned out to be very easy and convenient.
In Terminal 1, after baggage claim and customs, head out to the arrivals lobby and turn right. All the way at the end of the hall, past the Globe and Smart SIM card kiosks, is where you will find the waiting area for the shuttles. You can ask anyone there and they’ll point you in the right direction as well. There’s seats outside by the curb and inside as well. But there weren’t that many people waiting.
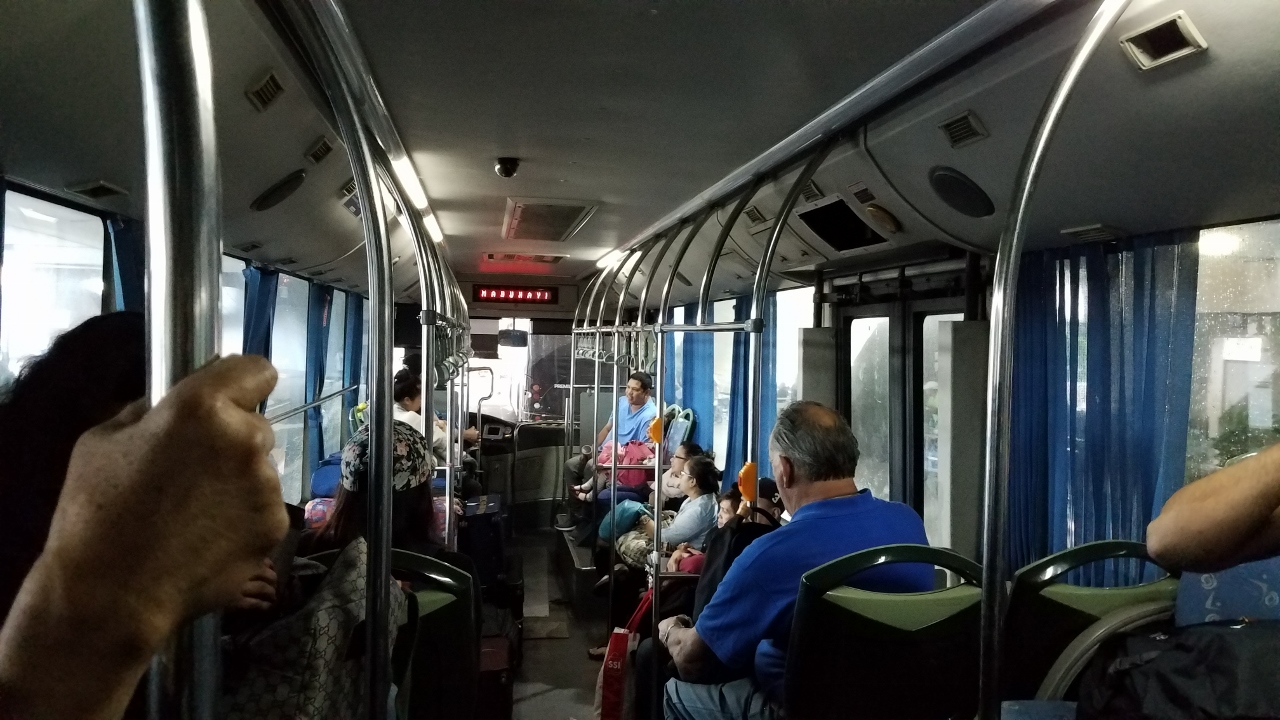
The bus is actually very spacious. Though there were only about 15-20 passengers with us on this early New Year’s morning. We left Terminal 1 around 7am and while we did have to go on regular city roads (instead of within the airport, airside), there was no traffic. The shuttle bus does a loop of the four terminals.
The shuttle is FREE. But the curbside porter and the bus driver do all the heavy lifting for you, so it would be okay to give them a small tip. US$1 or PHP50 is fine and greatly appreciated.
Terminal 3: Porter or Not?
Arriving at Terminal 3, beware of a throng of porters (dressed in those purple uniforms) wanting to help you. If you can find a cart and can push your luggage yourself, just say “Thanks” to the porter and say you can manage on your own. It is PHP50 or US$1 per bag, though they don’t tell you that until they bring you to the cashier kiosk before entering the terminal.
However! There is one huge positive with availing of a porter, especially if there is one of those notoriously long lines to get into Terminal 3. There is only one or two entrances to the terminal and all passengers have to pass through those entrances, regardless of airline.)
A porter can actually help you skip that line! You’re actually kind of cutting in line, but then again, you’ve basically paid for the privilege anyway.
The porter is never going to stand in that long line with you. So they’ll get you straight to the door and the baggage scanner and you’re instantly inside the terminal. They can also get you to the counter ahead of other people too, if lucky. There’s a few counters, at least for Cebu Pacific, that are always open and free of people where they’ll take you to.
Though you’ve already paid a fee, it would also be nice to tip the porter a little something. Especially if they did all the heavy lifting and got you past all the lines. Again, PHP50 or US$1 is perfectly fine and will be greatly appreciated.
Early Check-in for Philippine Airlines
So, my family and I always opt for an early check-in for our return flight from Manila to San Francisco. As we usually have to check-out of the hotel we’re staying at by 12pm, we check-in early for our flight, leave our check-in luggage and head off to SM Mall of Asia for the rest of the day to wait for our ~11pm flight.
For international Philippine Airlines flights, you CAN avail of early check-in on the same day. Do NOT believe any Philippine Airlines uniform-wearing person who tells you otherwise. If you ask someone for the counter where you can do an early check-in and they tell you that’s not possible, FIND SOMEONE ELSE and ask them.
Again, EARLY CHECK-IN IS AVAILABLE for Philippine Airlines flights at Terminal 2. Do not let them tell you otherwise. That’s happened to us a few times before, including on this trip, but we know the policy. I even showed them their website where it says so and the first few people we talked to still denied that policy even exists. So if you need to check-in hours earlier than your flight, you can. You can also exit the terminal and then just present your boarding pass when re-entering later.
Grab a Pocket Wi-Fi and a Power Bank
Unless you can somehow avoid the exorbitant roaming charges for your mobile phone or devices, then a pocket wi-fi from one of the local carriers is the way to go. They are absolutely easy to use and much less expensive than having to pay roaming charges.
If you’re only going to need to access the internet for e-mail, social media, Google maps, Grab or other apps, then a pocket wi-fi is all you’ll need. They’re usually sold at dedicated stores for the two main local telcos, Smart and Globe, as well as anywhere from big malls and department stores to the local convenience store. Be sure to check online at the official websites for Smart and Globe to know about how much a pocket wi-fi will cost so you won’t get the run around when buying in person.
The pocket wi-fi will come with a fresh SIM card included. But you’ll still have to load that SIM card with value in order to avail of promos that give you the amount of data you will need. Both Smart and Globe have their own promos which include a certain amount of data in MB or GB that will be valid for a specific period of time. (Anywhere from days to weeks.) The promos will also come with some freebies. The more data included, the more pesos you will need.
Promos change all the time, so it’s best to also check out which promos will fit your needs ahead of time. There are also some promos especially for travelers (though available to locals as well) which you can check out at the telco websites.
If you need to use your phone to make calls, both local and international, and again want to avoid high roaming fees, you have two options.
1. If your phone is unlocked, then SIM cards are a few dollars at most. Just plop a local SIM card in your phone and just like with a pocket wi-fi, find a promo that fits your needs (re: minutes and texts) and load up the needed amount. There’s also plenty of Unlimited promos that allow for unlimited calls and texts.
2. If your phone can’t support a new SIM temporarily and you plan on making a lot of calls and texts, then it would be worth getting a basic phone. The type with just the basic features like calling and texting. No camera, no touch screen, etc. These phones are also inexpensive as well. Definitely make sure it’s a brand new phone. And if you travel to the Philippines often, it’ll come in handy and maybe even last longer than your fancy iPhone or Android phone. Hehe
Depending on what type of trip you’re on in the Philippines, a power bank and some extra juice for your devices, especially a phone or pocket wi-fi, is a big help as well. Considering traffic and long travel times, you might run out of juice before you can find a place to plug stuff in. So a power bank isn’t a necessity, but can definitely come in handy. And a good security blanket to have too.
So those are my simple tips so far. I might add on more later if I can remember anything else. Lol
But feel free to ask questions if you have any and I’ll try to help! Enjoy your trip to the Philippines!